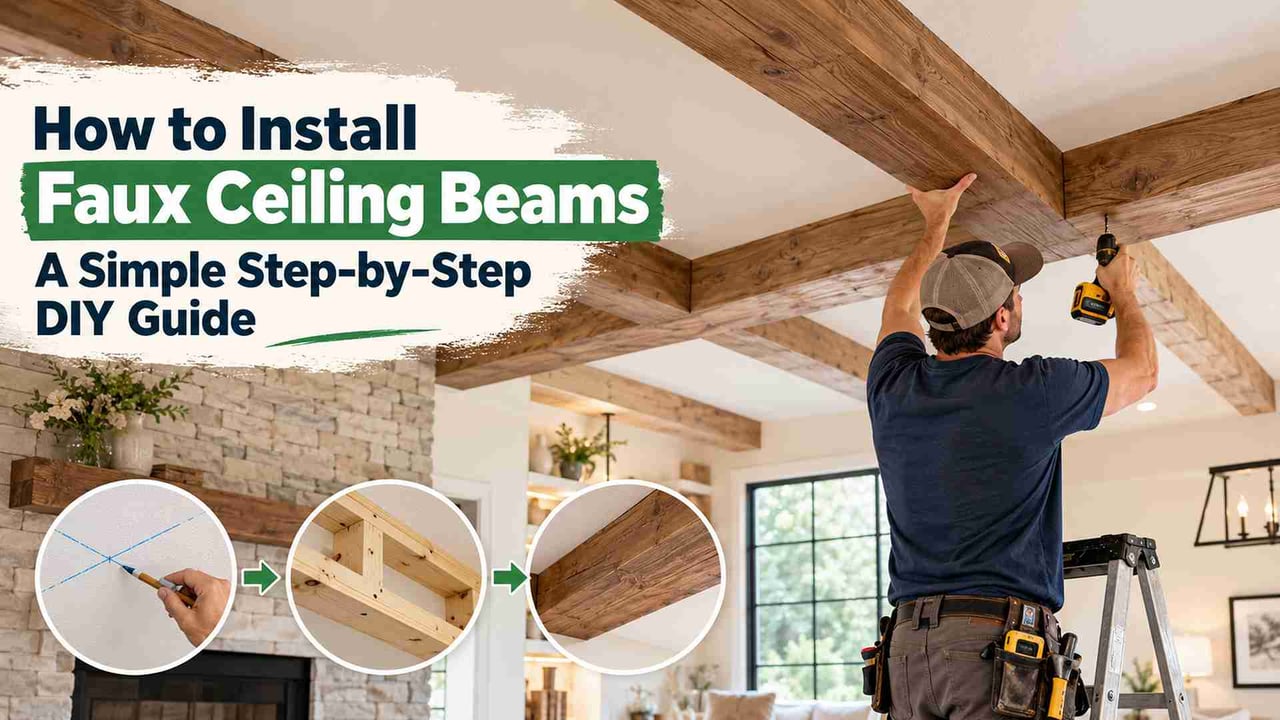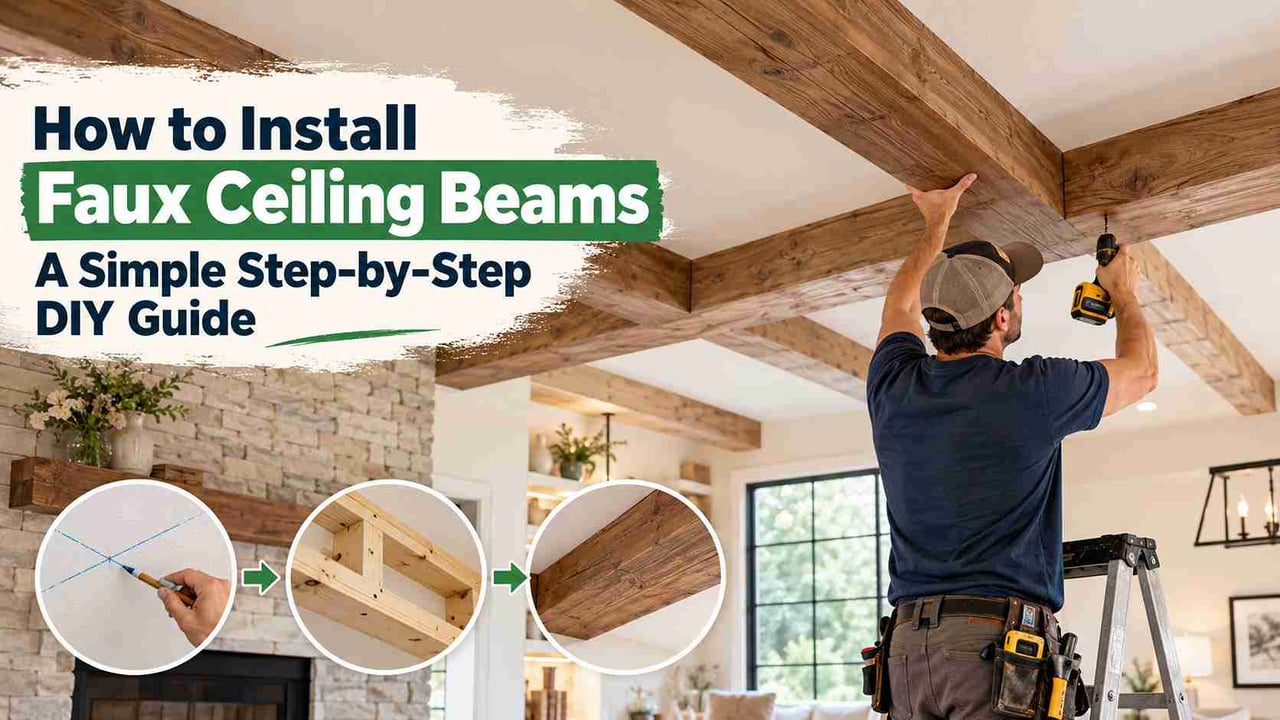
Few upgrades change a room as much as ceiling beams. They add warmth, character, and architectural depth, and you don’t need a contractor to install them. Faux beams are hollow and lightweight so that most homeowners can put them up in a weekend with basic tools.
This guide covers everything from planning to the final touches.
Why Choose Faux Beams for a DIY Project?
Real timber beams can weigh hundreds of pounds and often need structural support. Faux beams give you the same look at a fraction of the weight. They are typically built as three-sided box beams that wrap around a mounting frame, which makes them easy for one or two people to lift and secure.
If you’re still deciding between materials, our comparison of faux wood beams vs. real wood breaks down the costs and trade-offs.
Tools and Materials You’ll Need
Gather these before you start:
Faux wood beams (cut to length)
Stud finder
Tape measure and pencil
Level and chalk line
Drill and drill bits
2x4 or 1x4 lumber for the mounting frame (nailer strips)
Wood screws or a nail gun
Construction adhesive
Wood filler or putty
Stain or touch-up paint (if needed)
Safety glasses and gloves
A ladder or scaffolding
Step 1: Plan Your Beam Layout
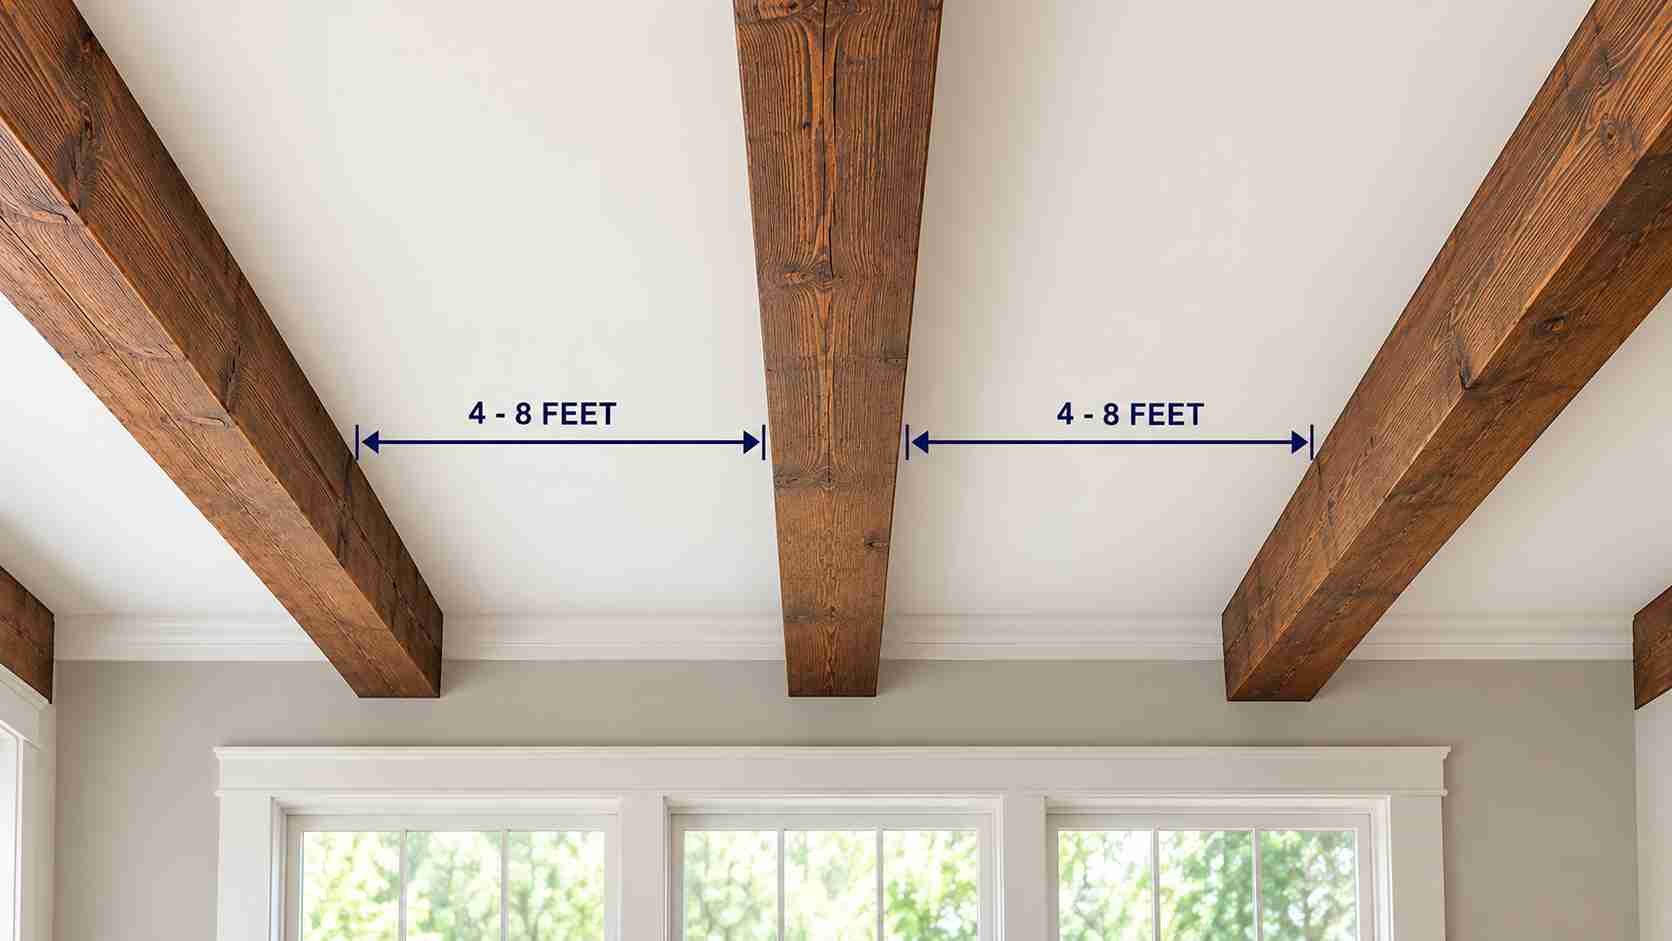
Before drilling anything, decide where the beams will go. Good planning prevents most installation mistakes.
Direction: Beams usually run the shorter way across a room, which makes the space feel balanced. In a long, narrow room, running them across the width can make it feel wider.
Spacing: For a classic look, place beams 4 to 8 feet apart. Closer spacing feels more traditional wider spacing is more modern.
Style: Think about the finish, grain, and size that suit your room. Our post on decorative faux beam ideas has inspiration for different rooms and design styles.
Mark your layout on the ceiling with a pencil and chalk line, then step back and check it from several spots in the room.
Step 2: Find the Ceiling Joists
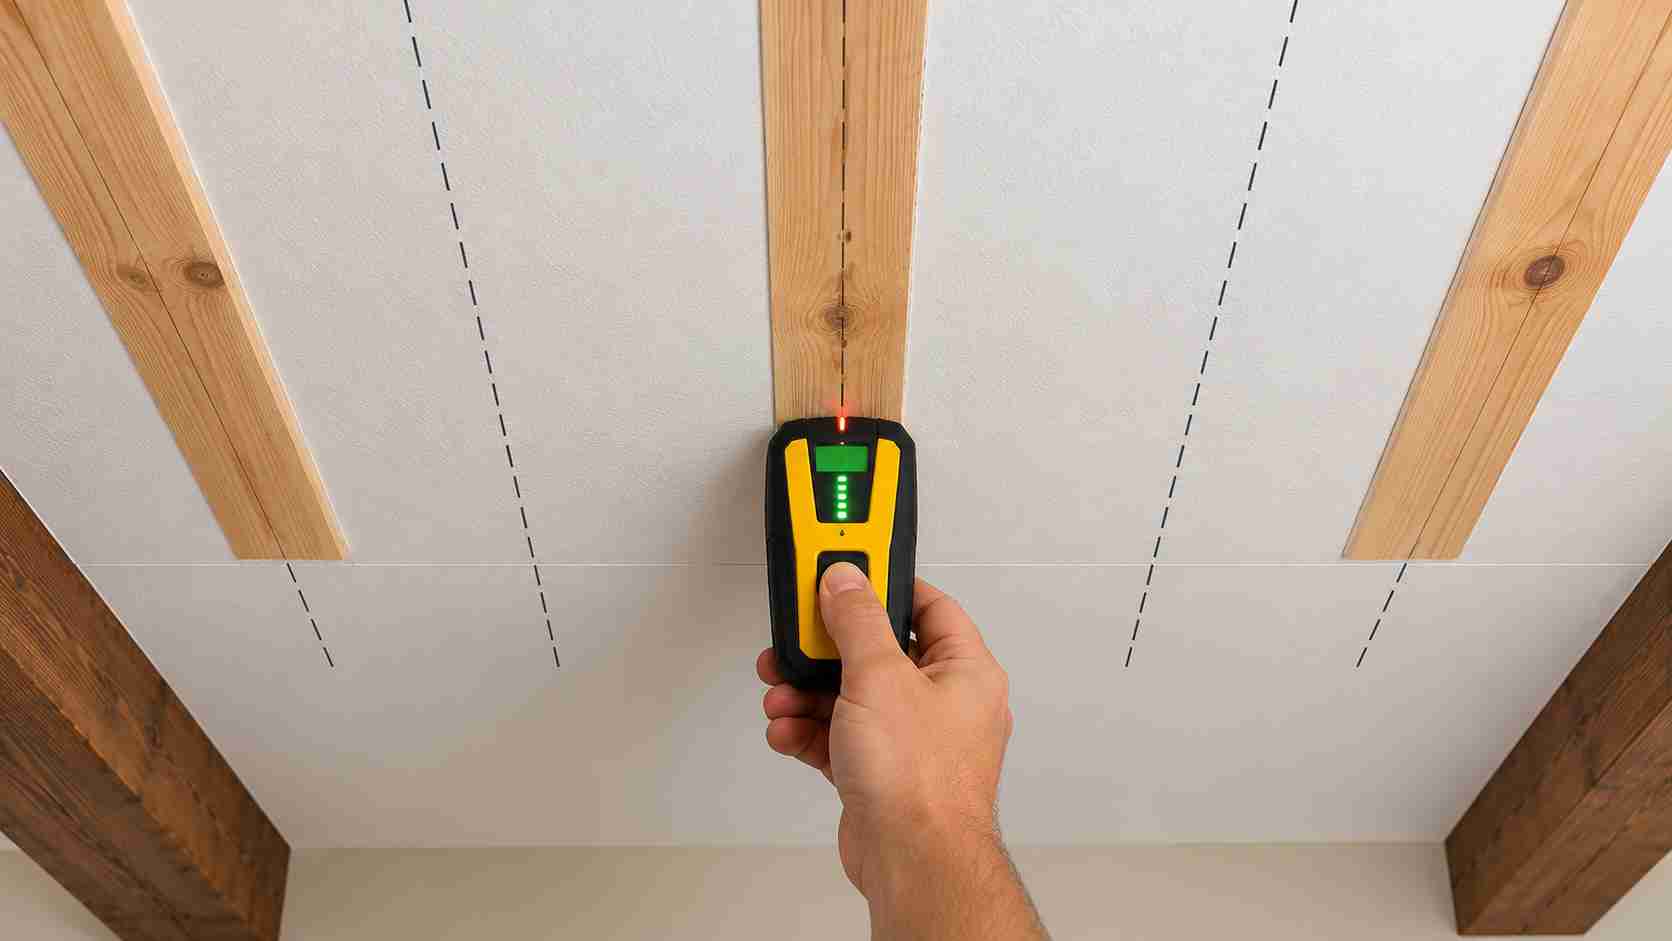
Your mounting frame needs to attach to solid framing. Use a stud finder to locate the ceiling joists, which usually run 16 or 24 inches apart. Mark each one along your beam lines.
If your beams run parallel to the joists, you may need to add blocking between them. If they run perpendicular, you can screw straight into each joist, which is the easier setup.
Step 3: Build the Mounting Frame
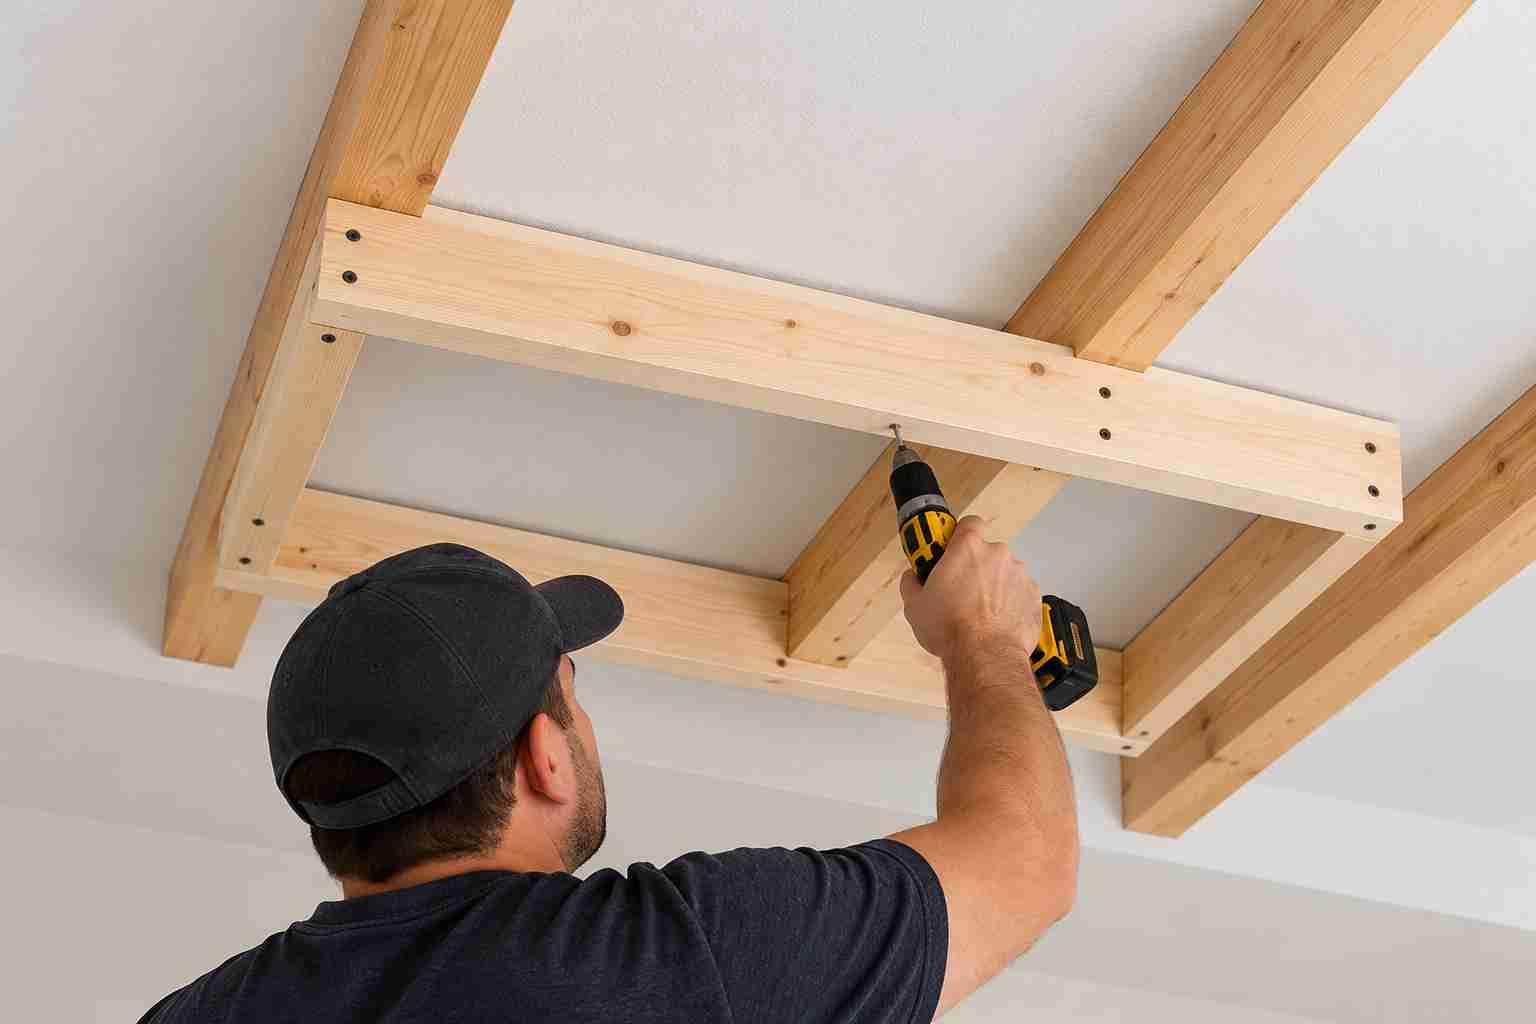
The mounting frame, or nailer, is what holds the faux beam in place. It’s a simple U-shaped or rectangular frame made from 2x4 lumber, sized slightly smaller than the inside of your beam so it slides on snugly.
Cut your lumber to match the beam length.
Fasten the first board along your chalk line, screwing into each joist.
Add side boards, spaced to fit the beam’s inner width.
Use a level to make sure the frame is straight. Even a small error will show once the beam is up.
Take your time here. A solid, level frame is the key to a professional result.
Step 4: Dry-Fit the Beam
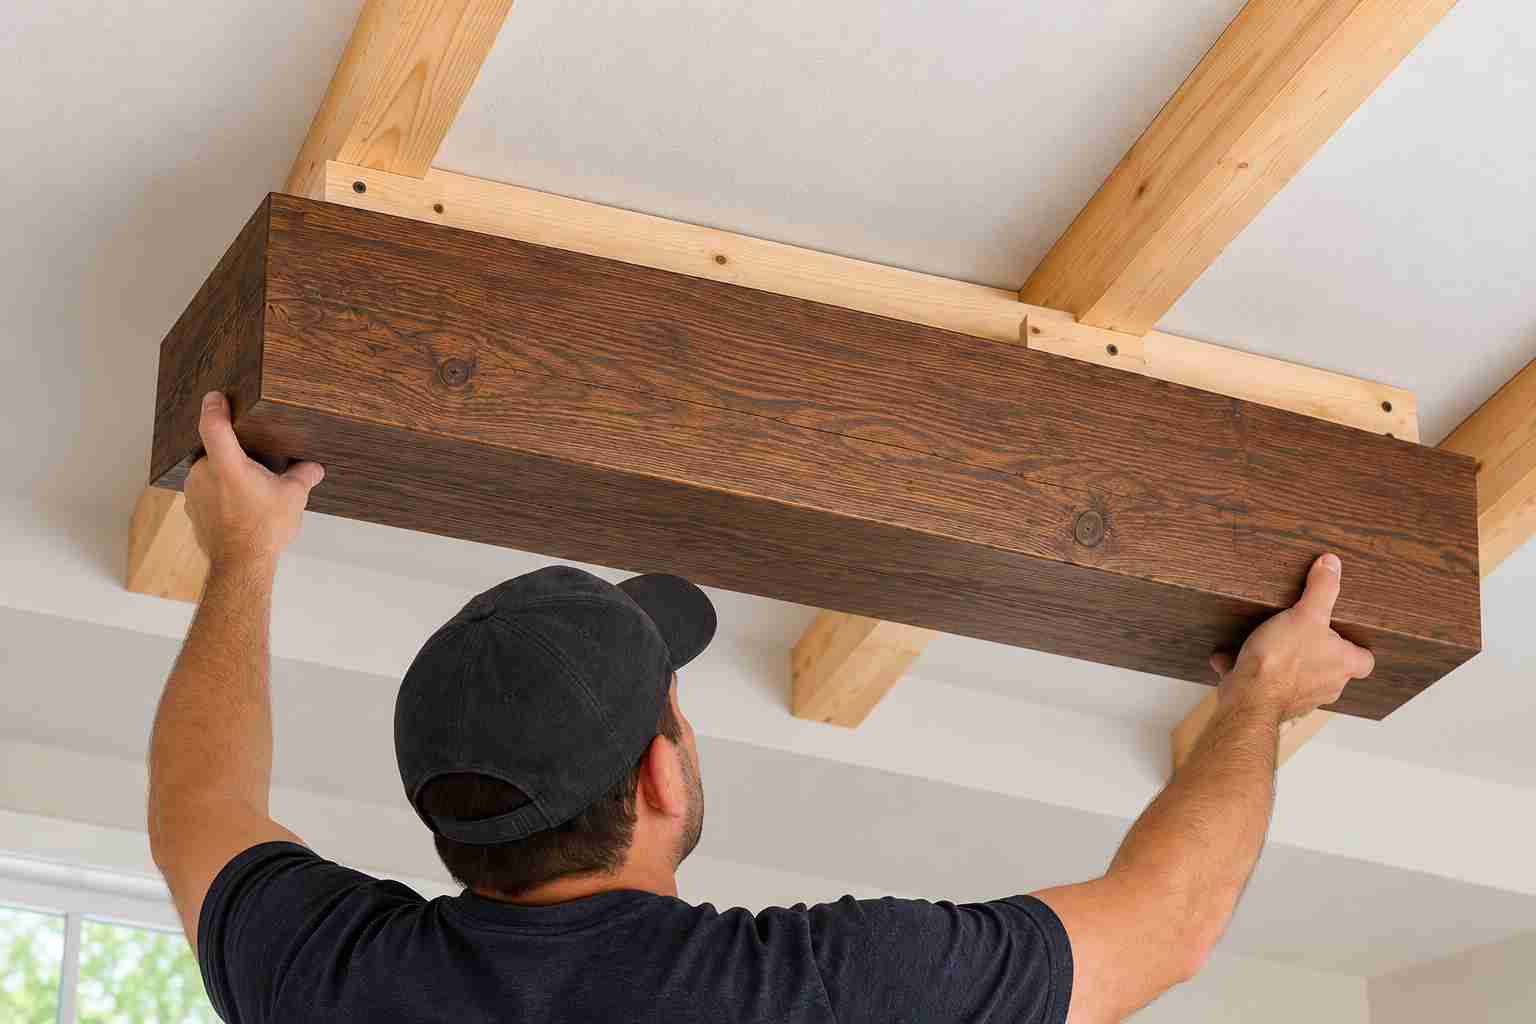
Before using any adhesive, lift the beam into position and slide it over the frame. Check that:
The beam sits flush against the ceiling with no large gaps
The ends line up with walls or other beams
The beam looks straight from different angles
If something doesn’t fit, adjust the frame now. It’s much harder to fix once the beam is glued.
Step 5: Secure the Beam
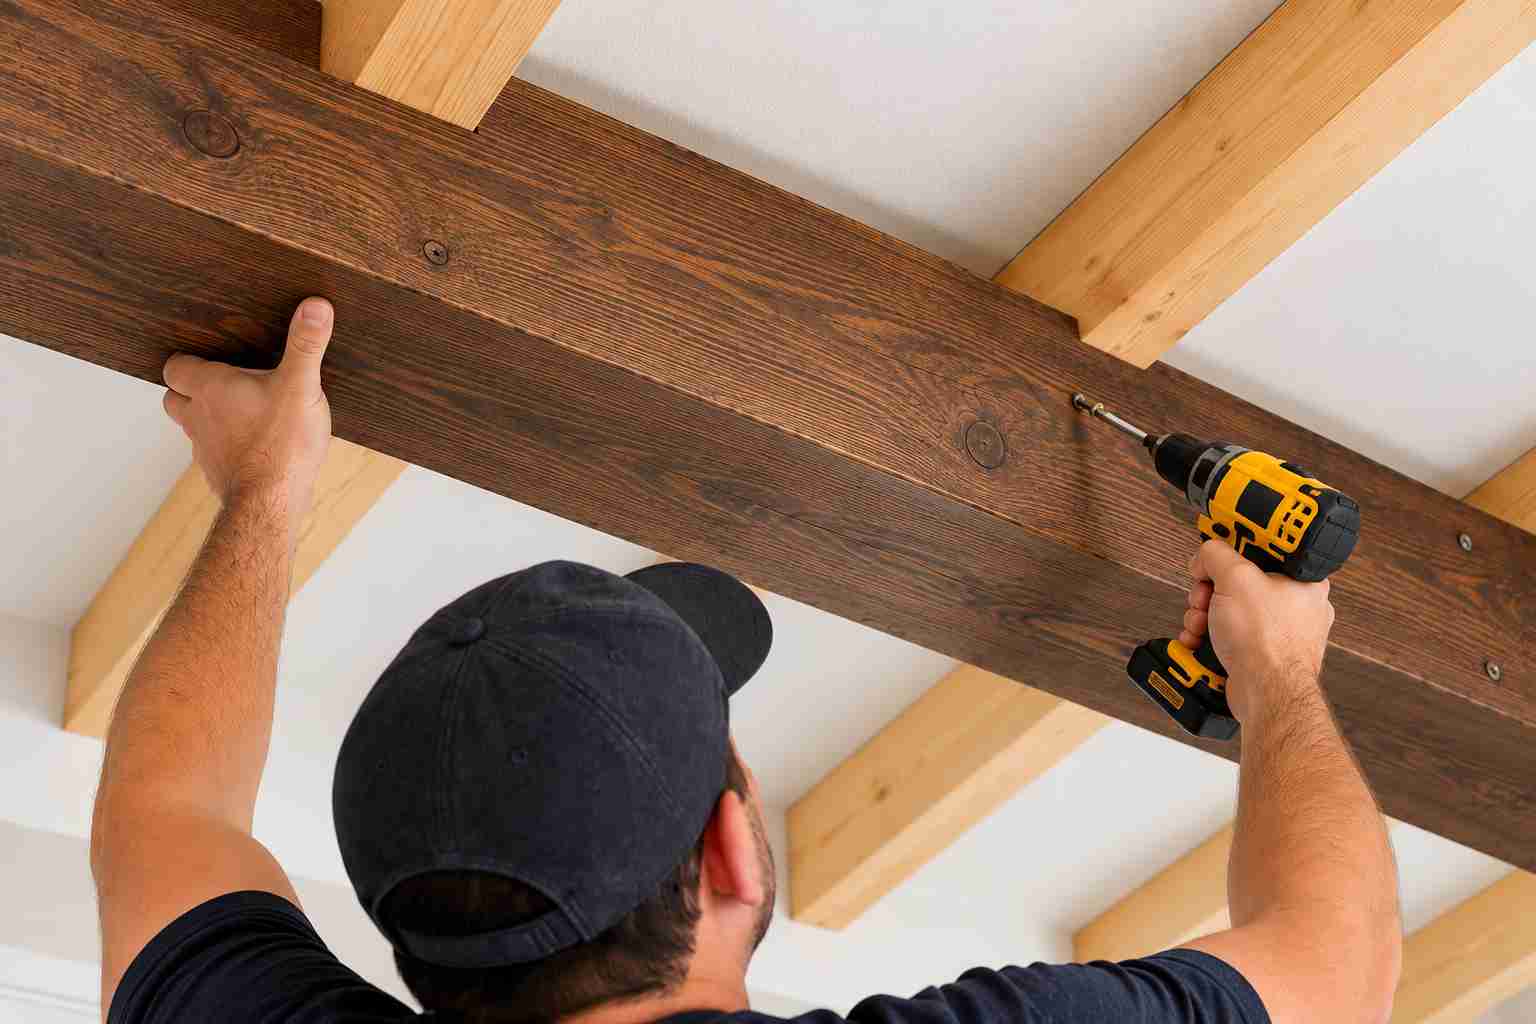
Once the dry fit looks good, take the beam down and apply a bead of construction adhesive along the top edges and where it meets the ceiling. Lift it back into place, then fasten it to the frame through the sides with finish nails or screws, spaced about 12 to 16 inches apart.
Ask a helper to hold the other end of longer beams. This is a two-person job for beams over 8 feet.
Step 6: Finish the Seams and Nail Holes
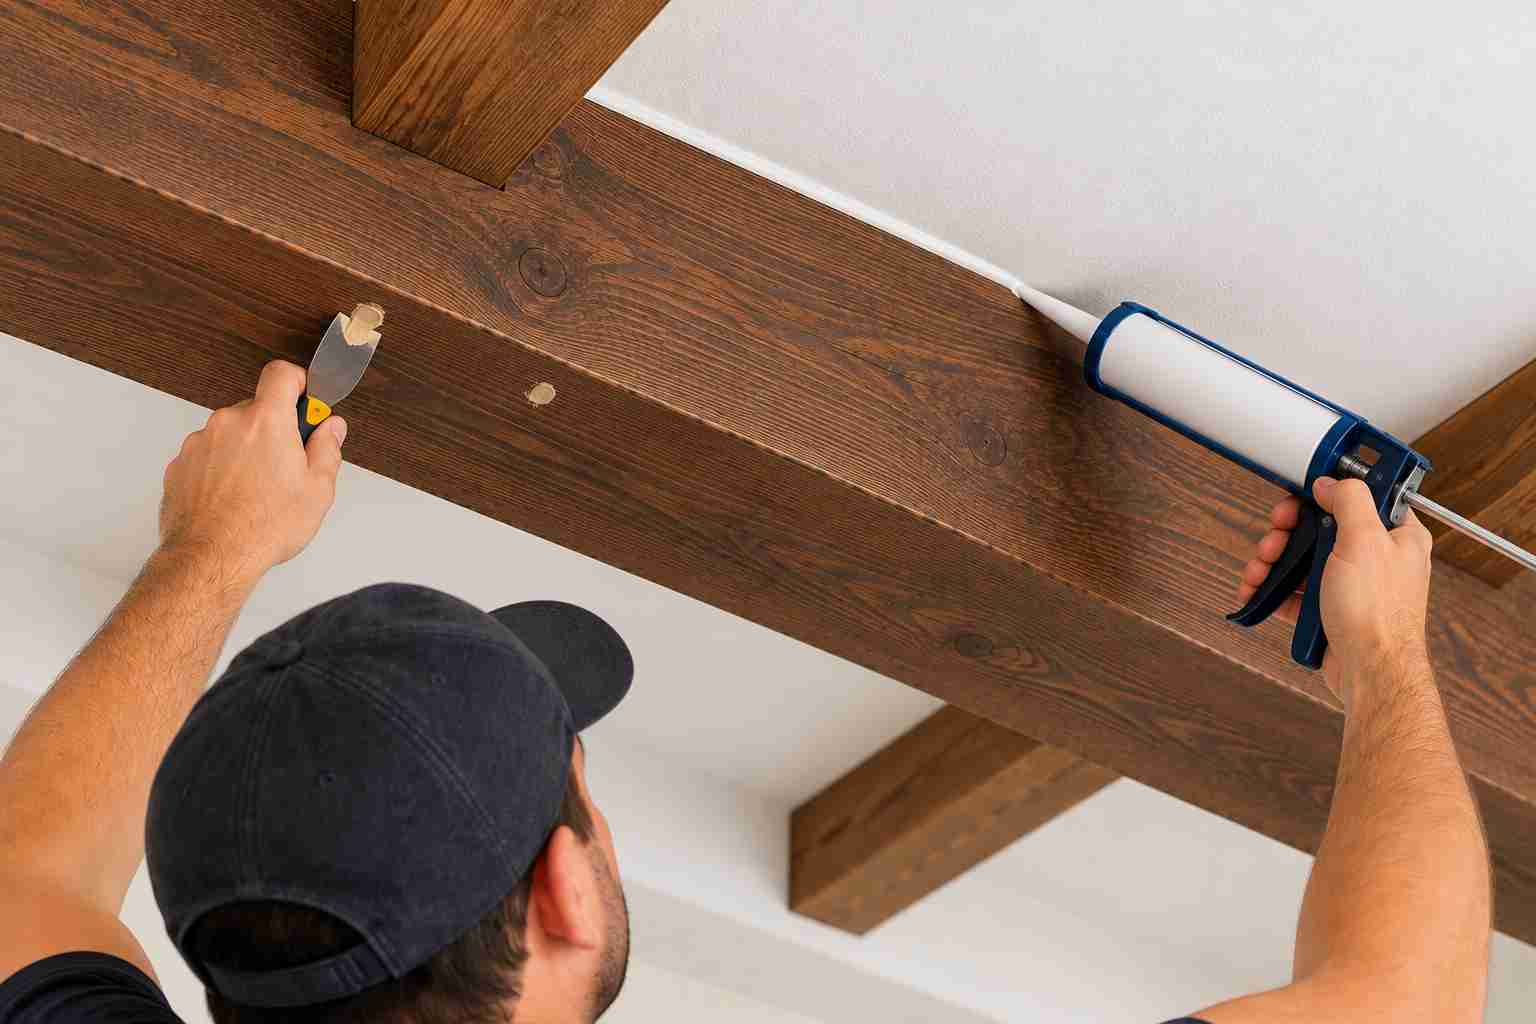
Fill nail or screw holes with wood filler that matches your beam color. For gaps where the beam meets the ceiling or wall, a thin line of paintable caulk gives a clean, built-in look. Where beams join end to end, a bit of stain-matched filler hides the seam.
Let everything dry, then lightly touch up with stain or paint so the repairs blend in.
Step 7: Protect and Maintain Your Beams
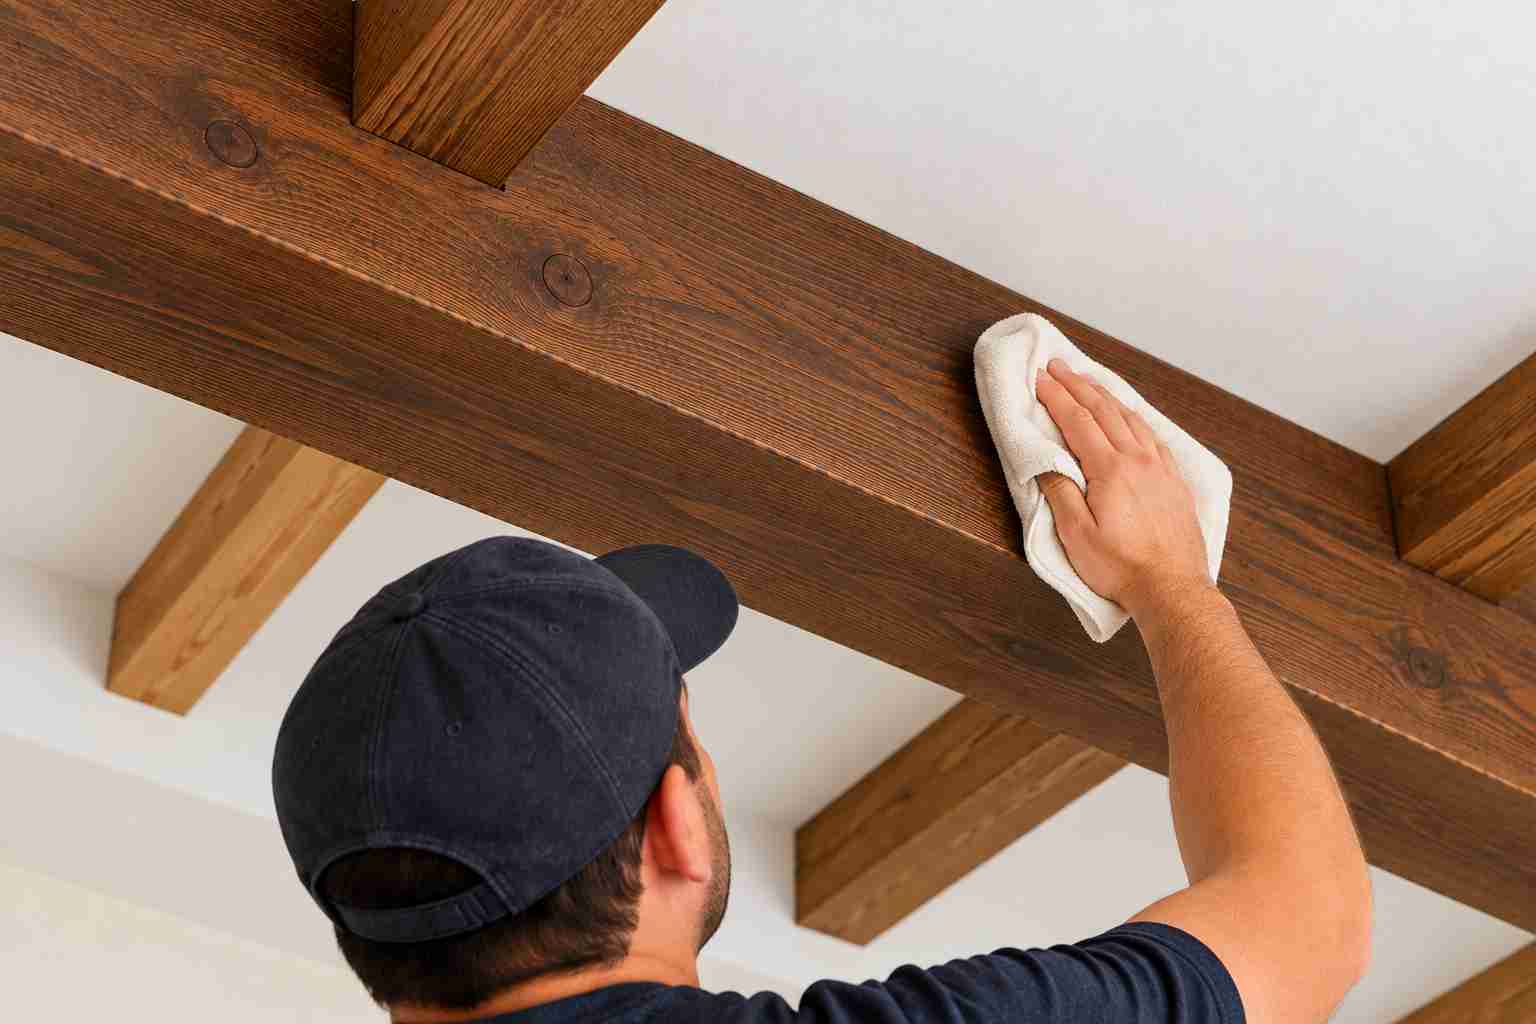
Once installed, a little care keeps your beams looking great for years. Dust them regularly, avoid harsh chemicals, and watch for moisture near kitchens and bathrooms. Our guide to maintaining your decorative beams covers cleaning, resealing, and spotting problems early.
Common Installation Mistakes to Avoid
Skipping the stud finder: Fastening into drywall alone won’t hold.
Ignoring wiring: If you plan to add recessed lights or wiring along the beam, plan the routes before closing it up.
Rushing the measurements: Measure twice and cut once. Walls are rarely perfectly square.
Skipping the dry fit: It takes ten minutes and saves hours of frustration.
Using the wrong fasteners: Use screws and adhesive rated for wood and ceiling use.
How Long Does Installation Take?
A single beam typically takes one to two hours once your layout is marked. A full room with several beams can be done in a weekend, including finishing. Allow extra time if you need to stain or paint after installation.
Final Thoughts
Installing faux ceiling beams is one of the most rewarding DIY projects you can take on. With careful planning, a level frame and a patient dry fit, you can get a result that looks like custom timber work without the cost or structural complexity of solid beams.
Ready to start? Browse the collection of faux wood beams at Kustom Beams, pick a size and finish that suits your space, and transform your ceiling this weekend. Whether you want a rustic farmhouse look or a clean, modern line, Kustom Beams has options to match your style and your budget.